
Moving OpenCore from USB to macOS Drive
Grabbing OpenCore off the USB
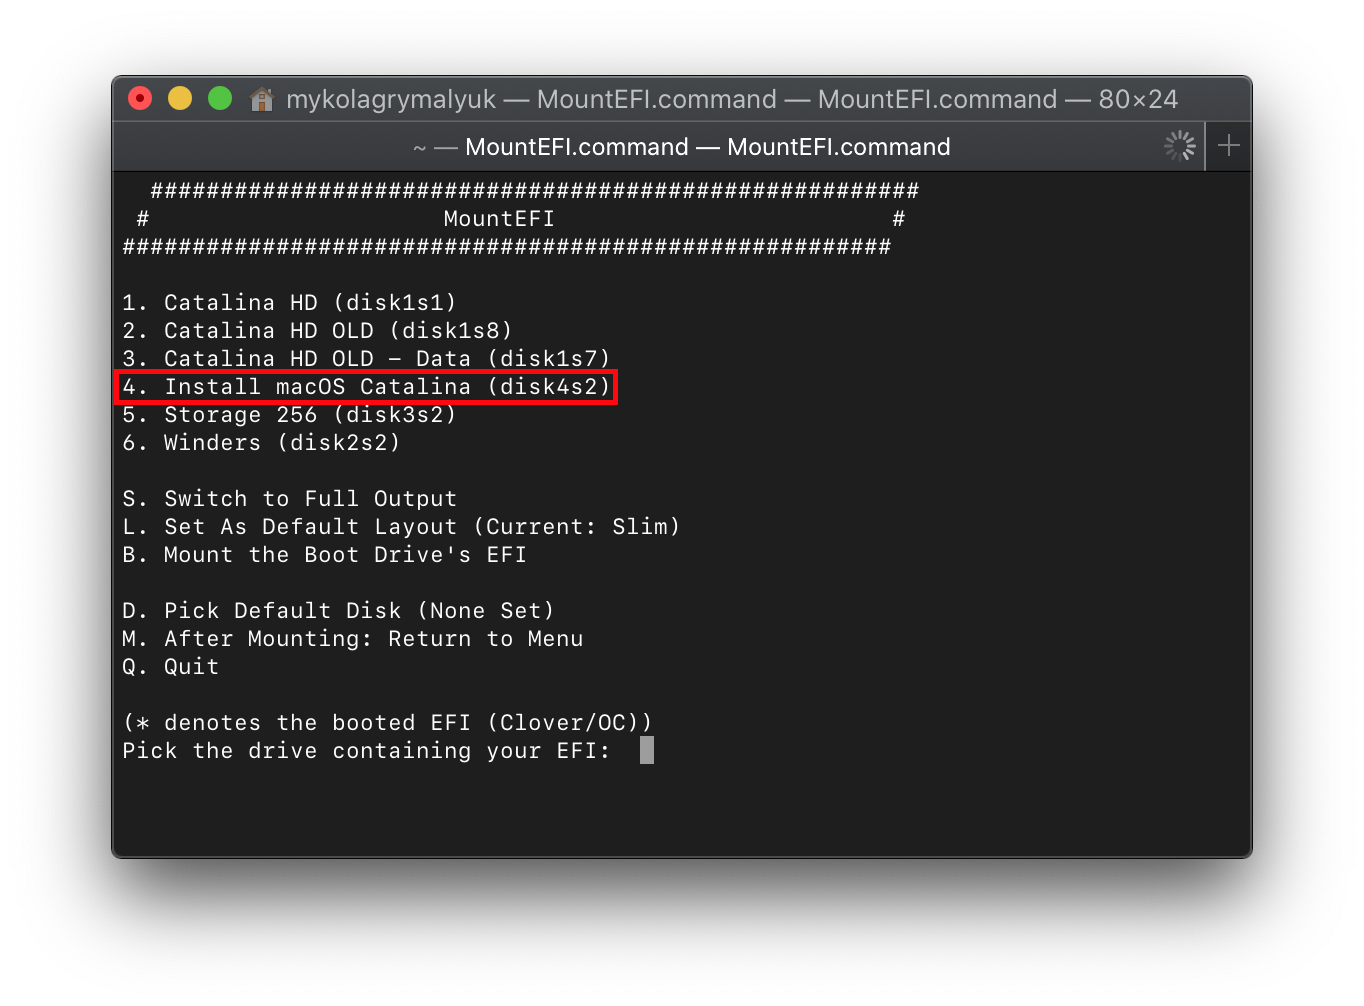
So to start, we'll first want to grab OpenCore off of our installer. To do this, we'll be using a neat tool from CorpNewt called MountEFI
For this example, we'll assume your USB is called Install macOS Catalina:
Once the EFI's mounted, we'll want to grab our EFI folder on there and keep in a safe place. We'll then want to eject the USB drive's EFI as having multiple EFI's mounted can confuse macOS sometimes, best practice is to keep only 1 EFI mounted at a time(you can eject just the EFI, the drive itself doesn't need to be removed)
Note: Installers made with gibMacOS's MakeInstall.bat on Windows will default to a Master Boot Record(MBR) partition map, this means there is no dedicated EFI partition instead being the BOOT partition that mounts by default in macOS.
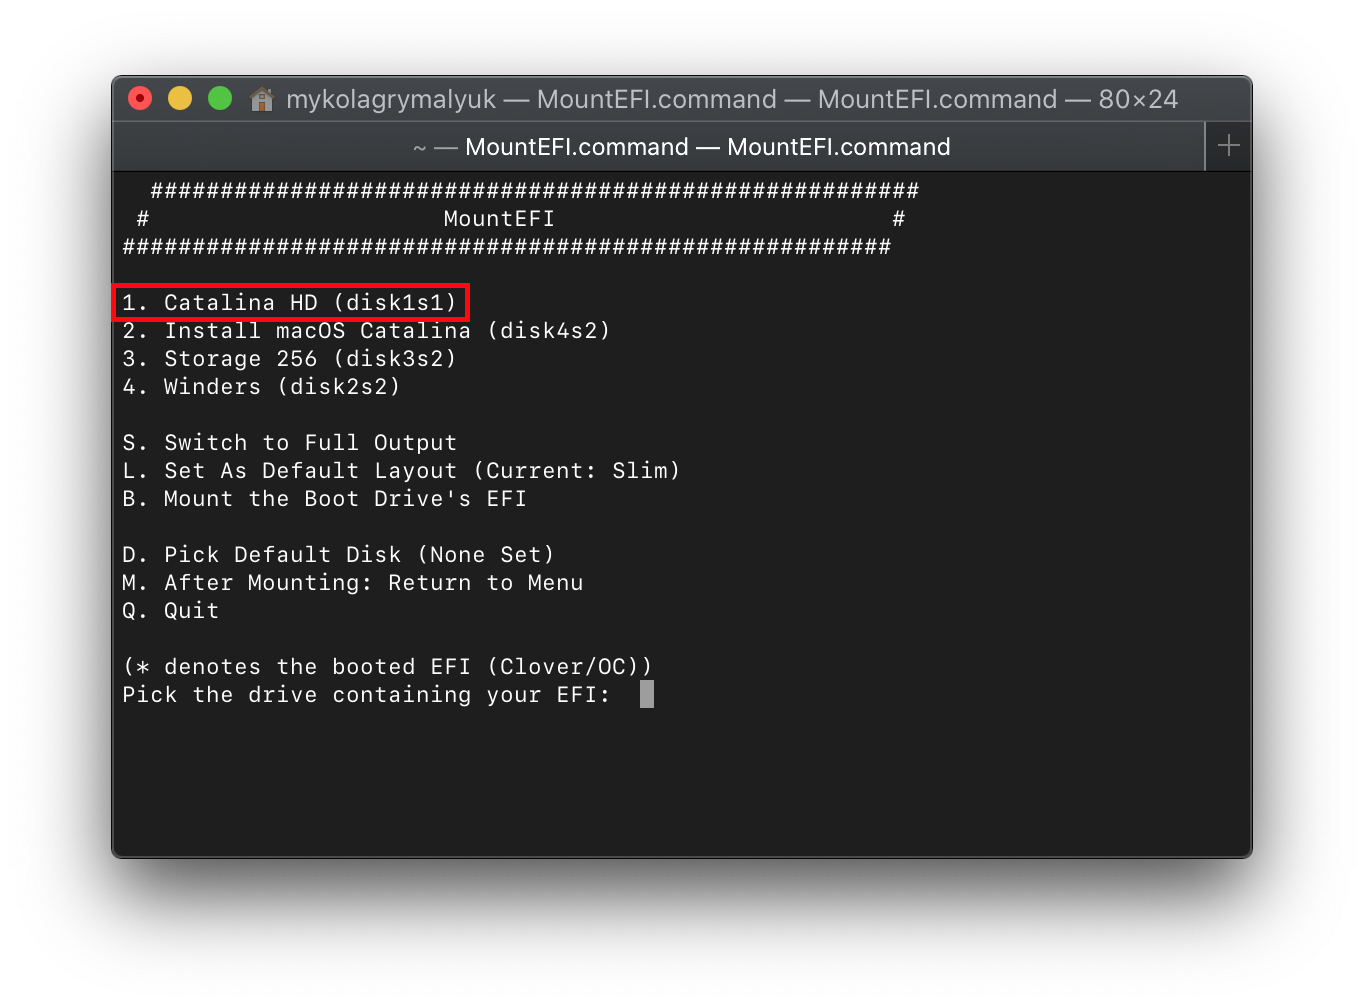
Now with this done, lets mount our macOS drive. With macOS Catalina, macOS is actually partitioned into 2 volumes: System Partition and User Partition. This means that MountEFI may report multiple drives in it's picker but each partition will still share the same EFI(The UEFI spec only allows for 1 EFI per drive). You can tell if it's the same drive with diskXsY (Y is just to say what partition it is)
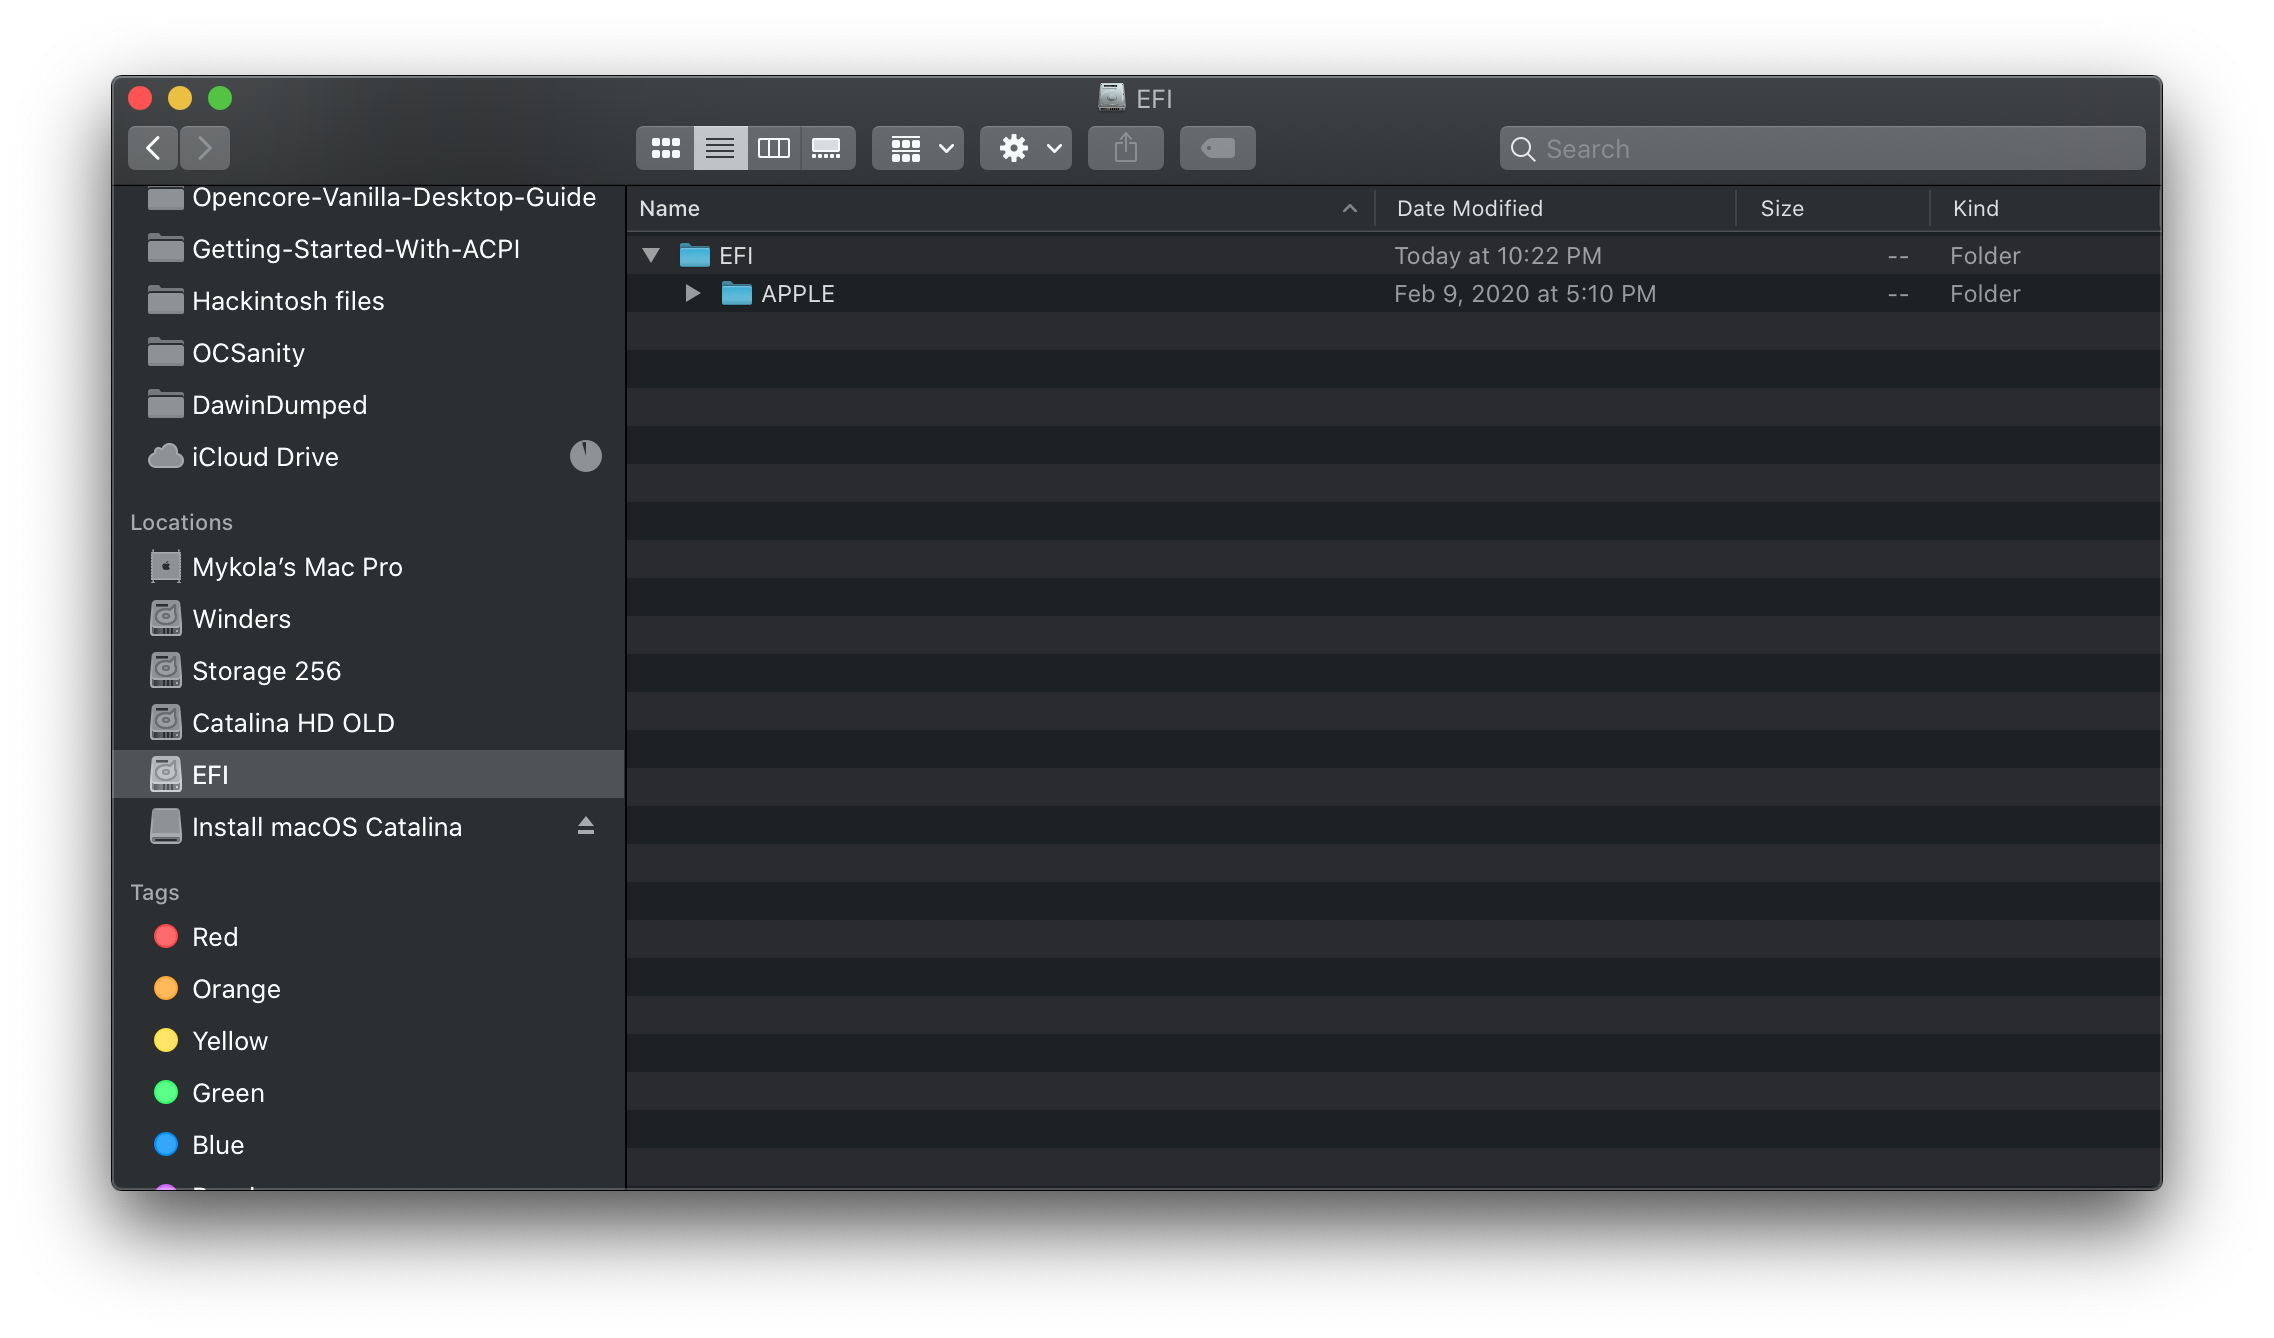
When you mount your main drive's EFI, you may be greeted with a folder called APPLE, this is used for updating the firmware on real Macs but has no effect on our hardware. You can wipe everything on the EFI partition and replace it with the one found on your USB
Special notes for legacy users
When transferring over your EFI, there are still boot sectors that need to be written to so your non-UEFI BIOS would be able to find it. So don't forget to rerun the BootInstallARCH.tool on your macOS drive.