USB Mapping
This guide is outdated
see USBMap's README for updated information until this guide is rewritten
So with the prerequisites out of the way, we can finally get to the meat of this guide. And now we get to finally read one of my favorite books before I go to bed each night: The Advanced Configuration and Power Interface (ACPI) Specification!
Now if you haven't read through this before(which I highly recommend you do, it's a thrilling tale), I'll point you to the meat of the USB situation:
- Section 9.14: _UPC (USB Port Capabilities)
Here we're greeted with all the possible USB ports in ACPI:
| Type | Info | Comments |
|---|---|---|
| 0 | USB 2.0 Type-A connector | This is what macOS will default all ports to when no map is present |
| 3 | USB 3.0 Type-A connector | 3.0, 3.1 and 3.2 ports share the same Type |
| 8 | Type C connector - USB 2.0-only | Mainly seen in phones |
| 9 | Type C connector - USB 2.0 and USB 3.0 with Switch | Flipping the device does not change the ACPI port |
| 10 | Type C connector - USB 2.0 and USB 3.0 without Switch | Flipping the device does change the ACPI port. generally seen on 3.1/2 motherboard headers |
| 255 | Proprietary connector | For Internal USB ports like Bluetooth |
Intel USB Mapping
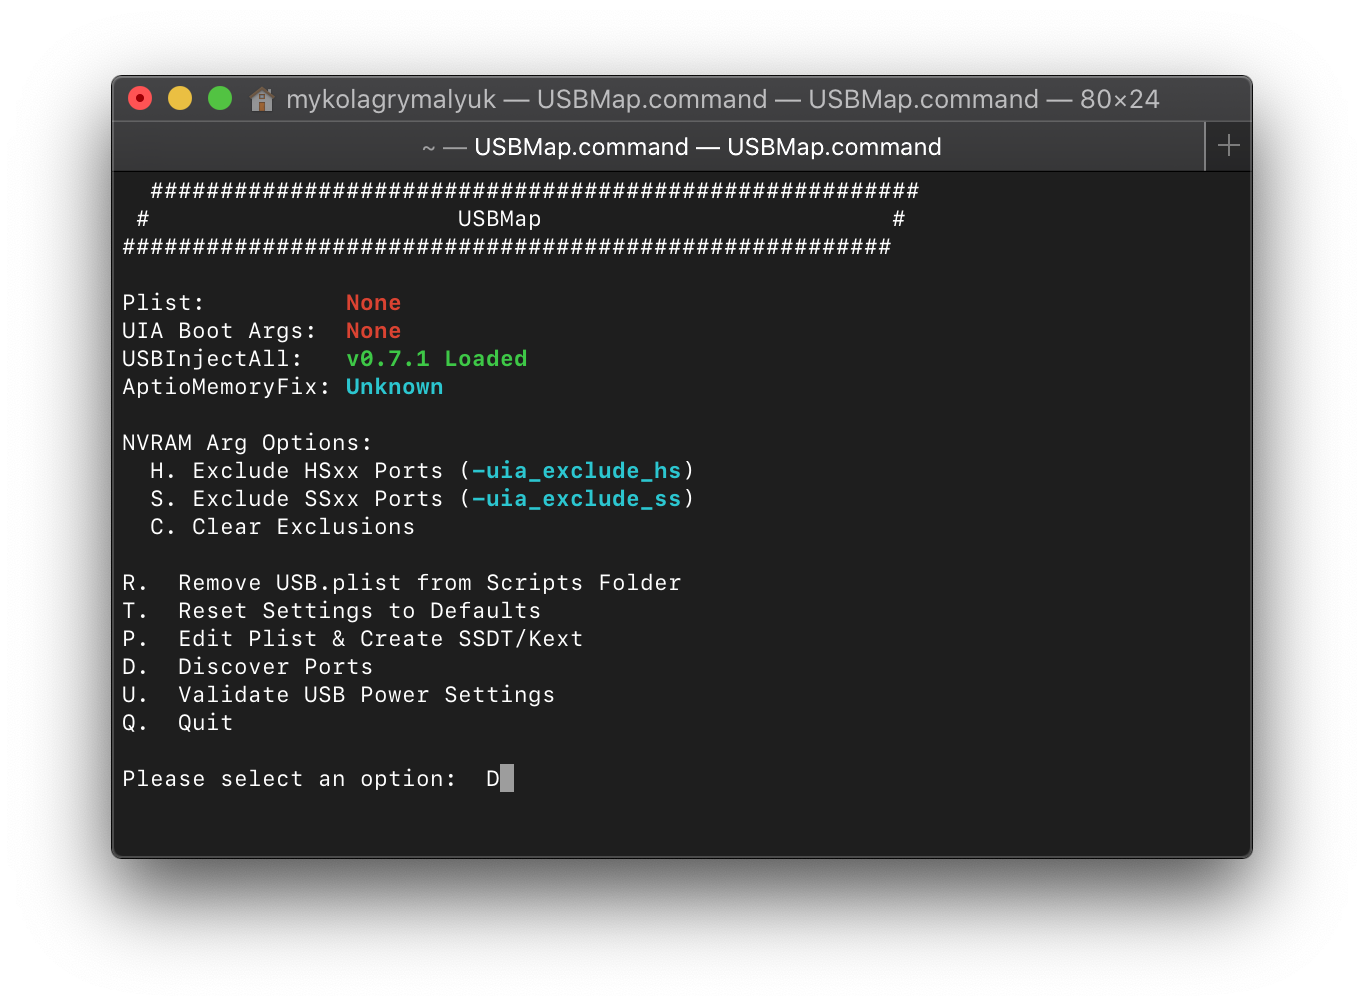
USB mapping on Intel is super easy mainly because both the ACPI is sane and more tools available for the platform. For this guide we'll be using the USBmap tool from CorpNewt.
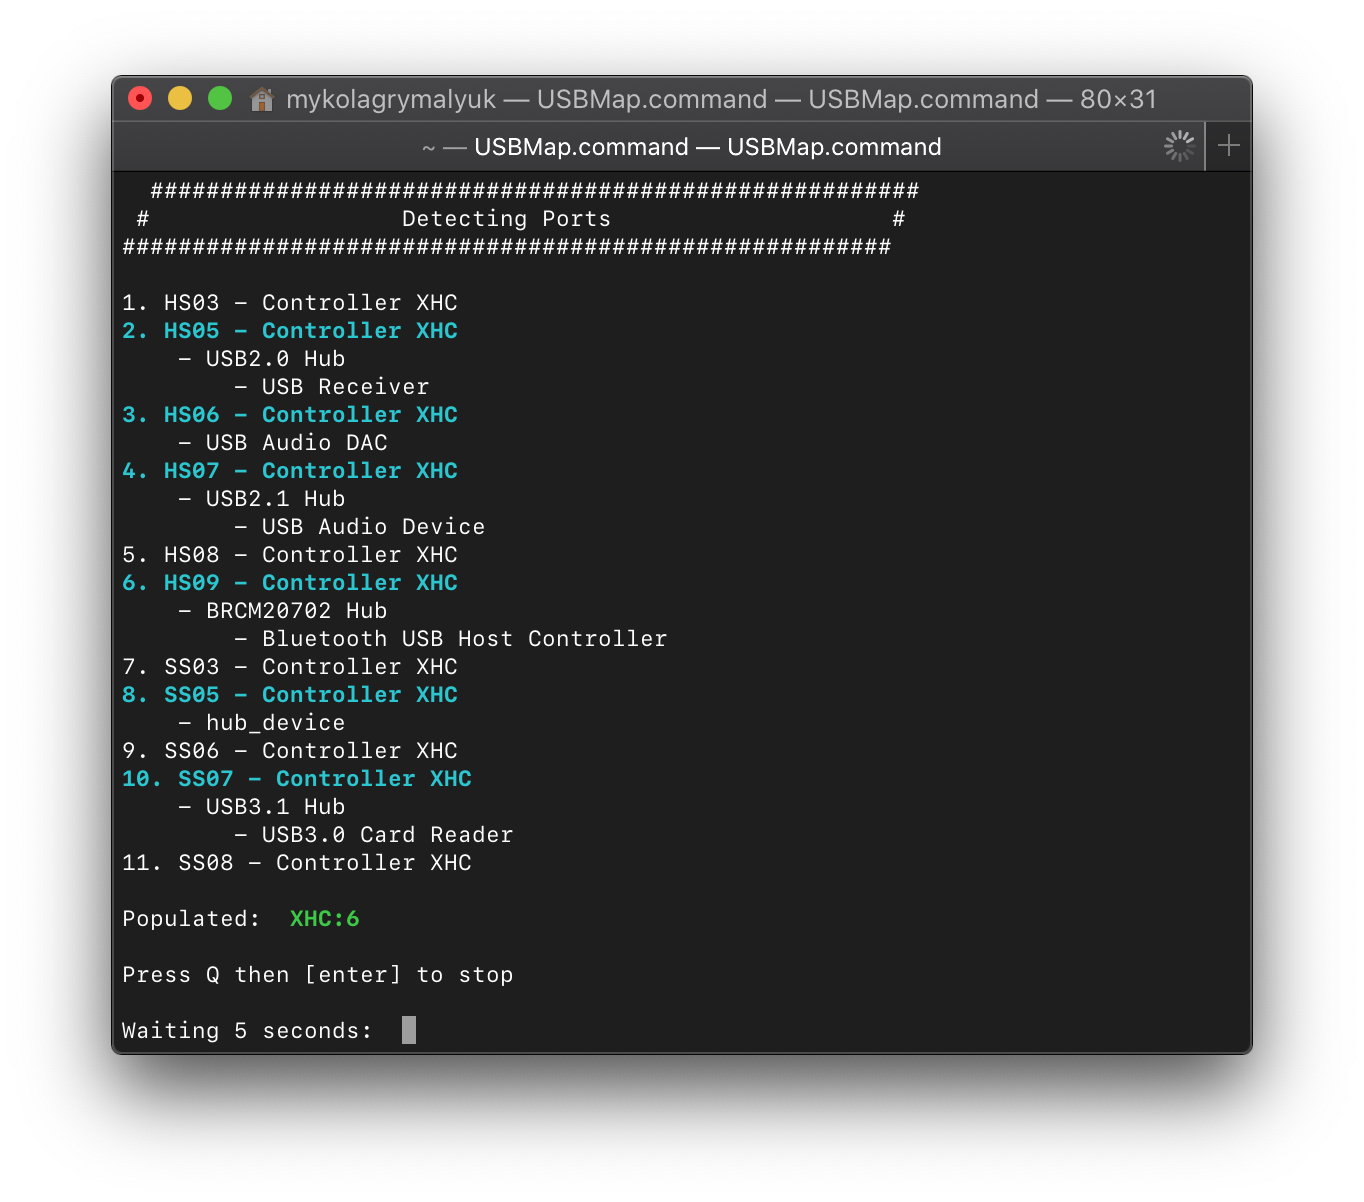
Now open up USBmap.command and select D. Discover Ports:
The interface for USBmap is quite simple and easy to grasp so won't go into detail here, the README.md should do you well enough. The basic idea is insert a device, give it a name to remember the port by, remove and then try another port until you have a whole list of ports you want to keep.
- Note: USRx(ie. USR1, USR2) ports are not real USB ports, they're specifically USBR ports which macOS has no support for(and why real Macs don't have this). These can be excluded from your USB map.
Once you're done discovering your ports, select Press Q then [enter] to stop then head to P. Edit Plist & Create SSDT/Kext from the main menu.
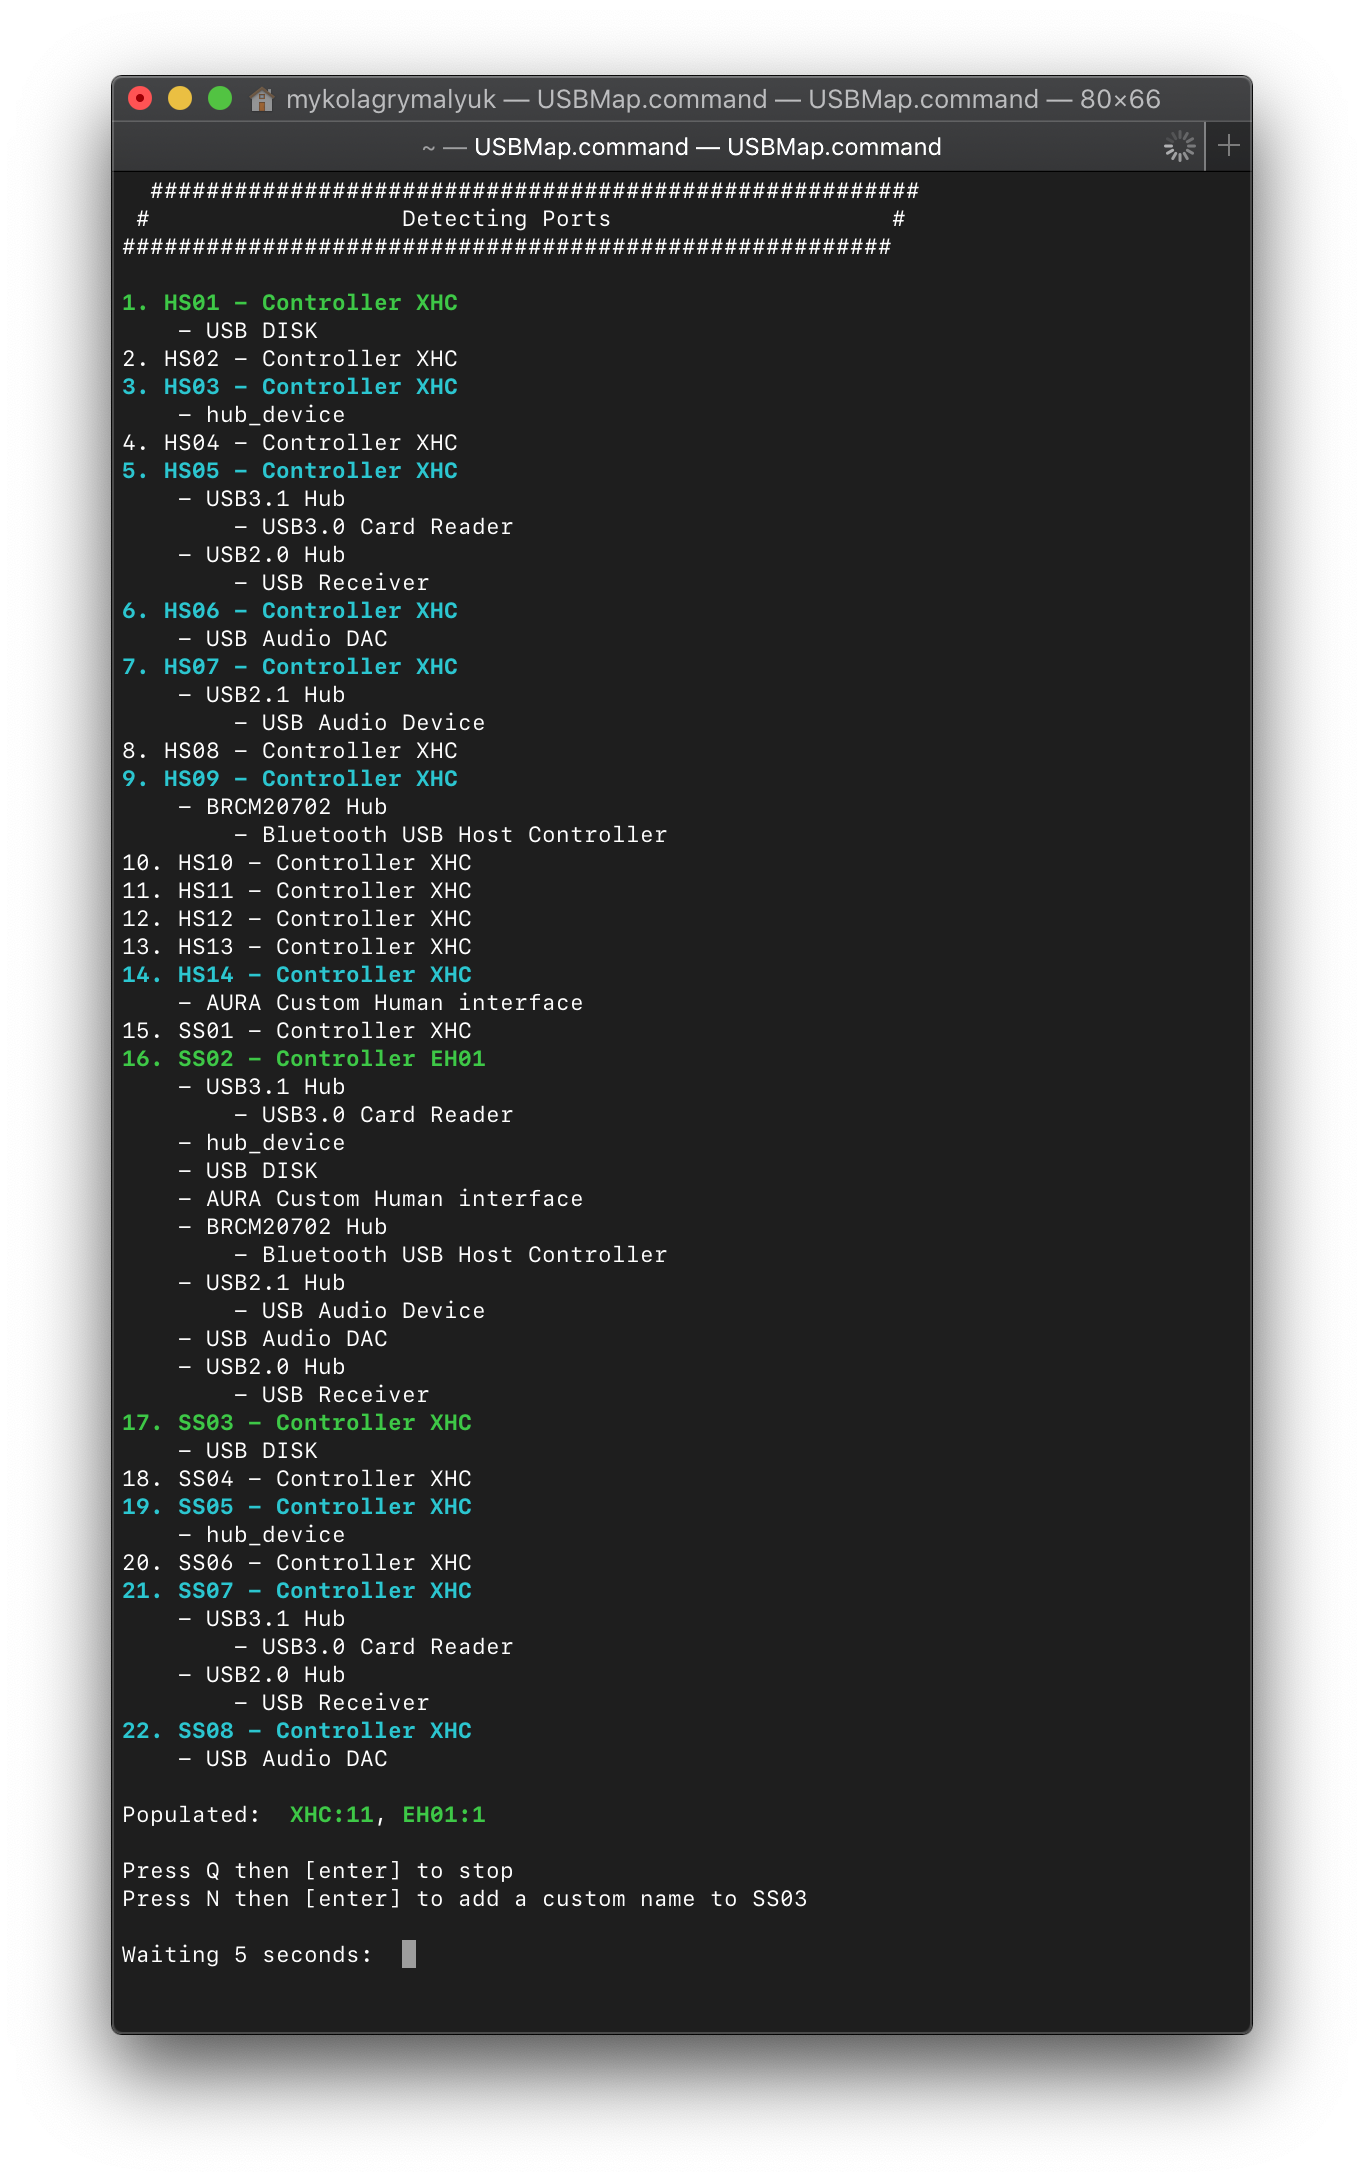
For this example, I'll choose all the ports that were discovered, remember that there is a 15 port limit so you cannot go over it. USB hubs will count as one USB port so you can expand from there if you are limited on ports.
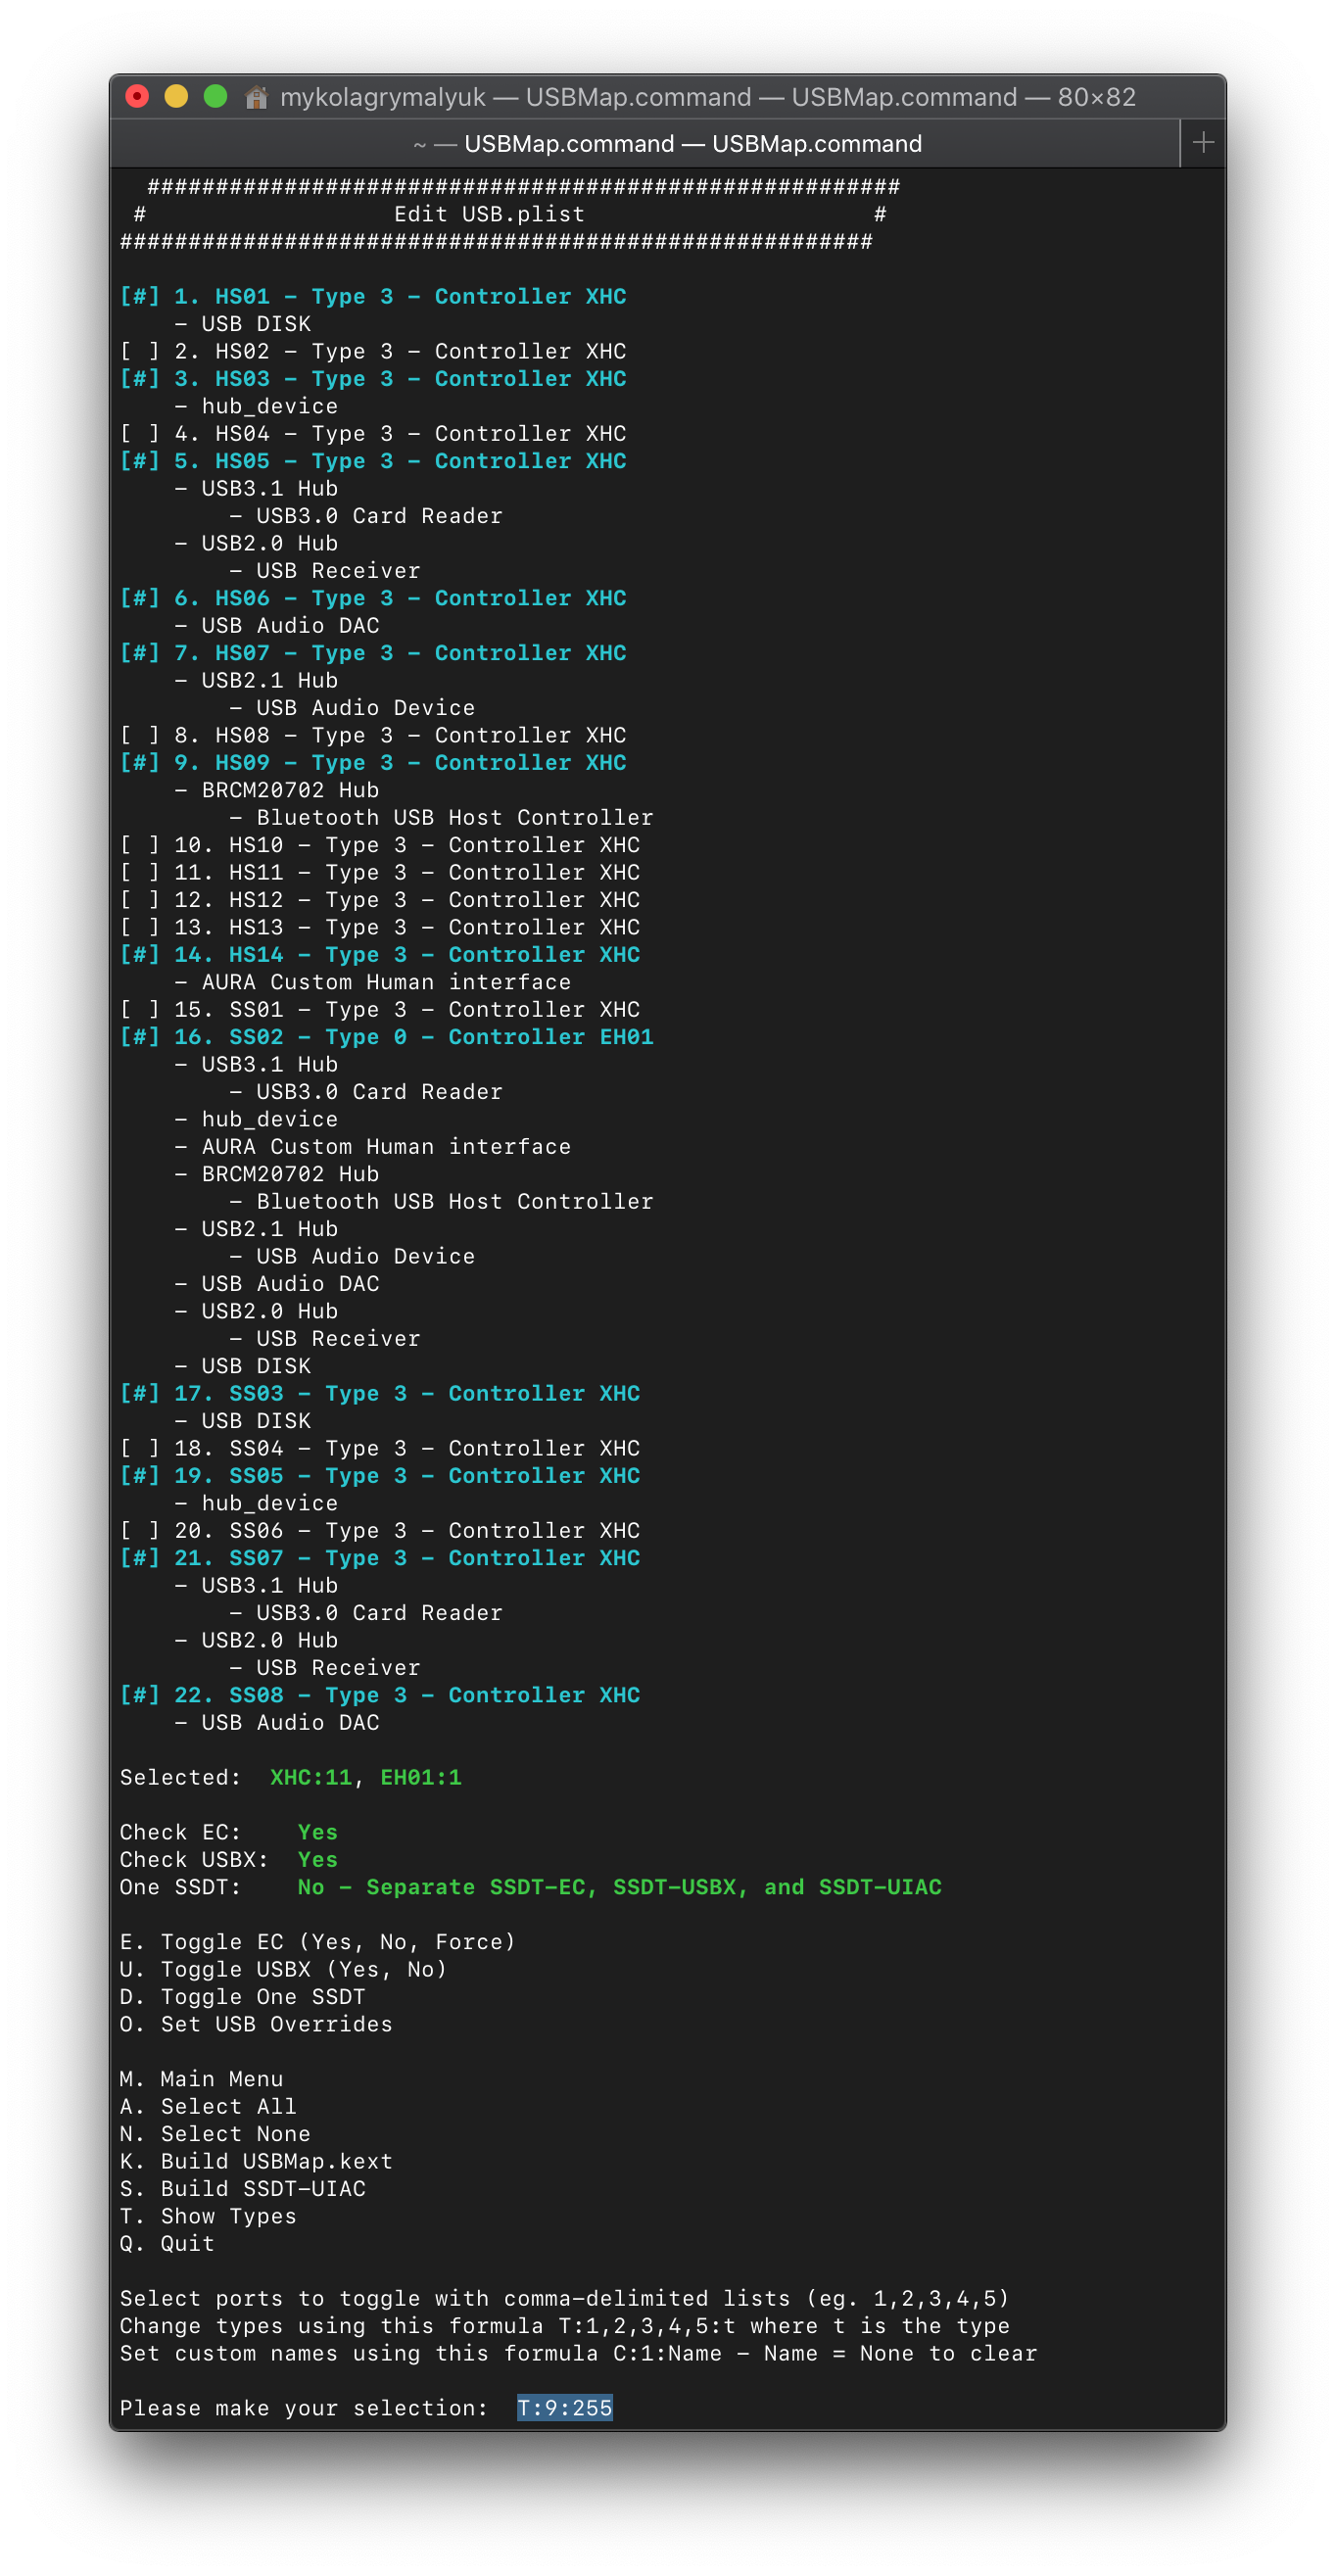
T:1,3,4,5,6,7,16,17,19,21,22:3
The above will set all ports listed to type 3 which is USB 3.0.
T:9:255
This will set my Bluetooth to internal, this is super important as macOS expects Bluetooth to always be internal.
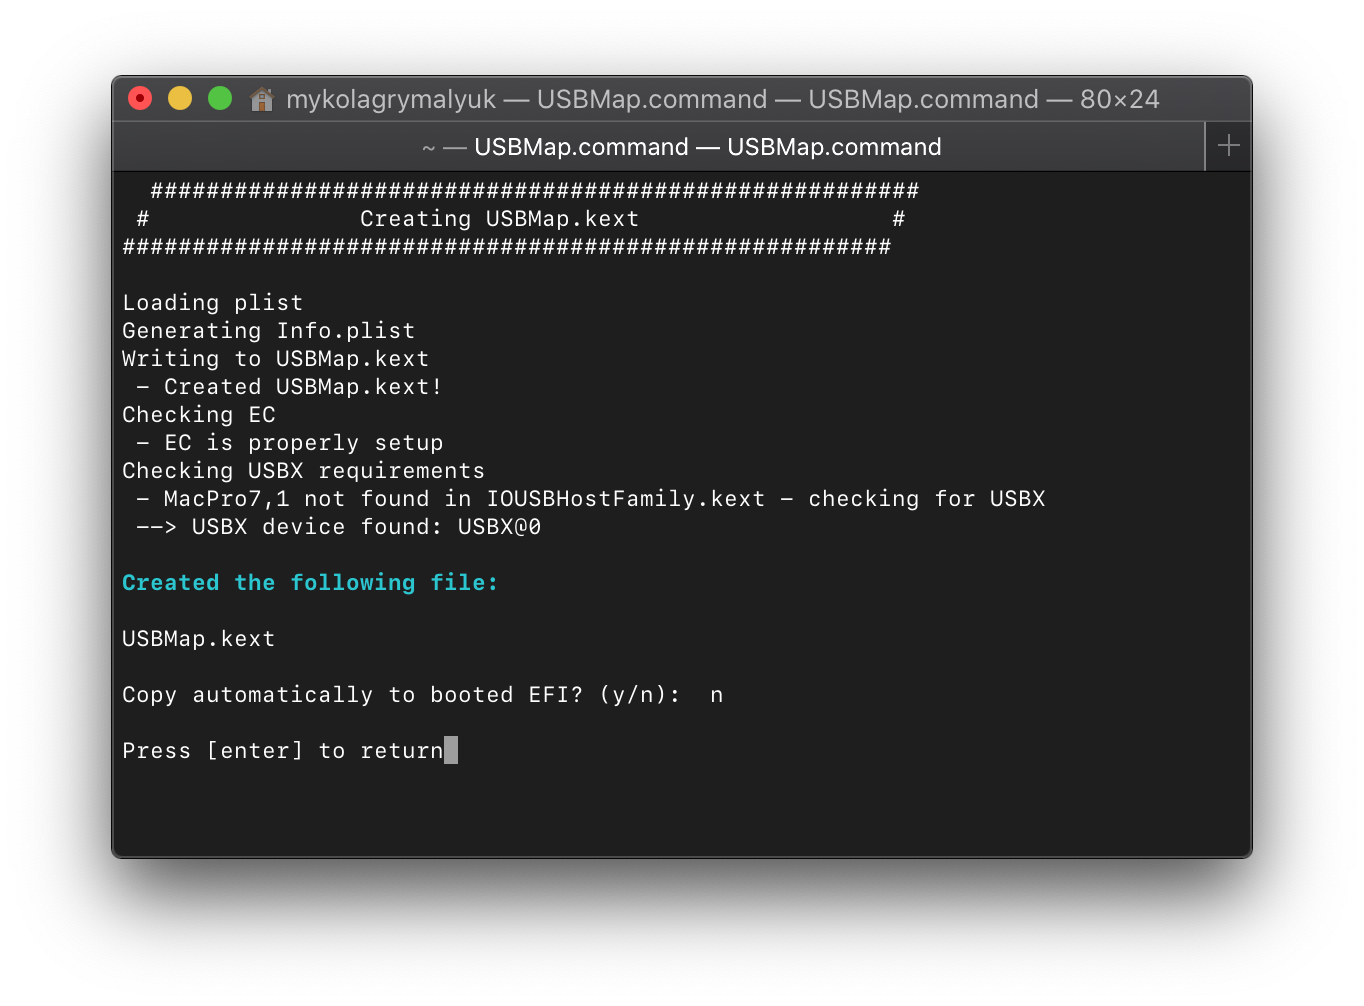
Now we can select K. Build USBMap.kext and let it build our kext for us.
Note: Do not use either the SSDT-UIAC.aml or USBInjectAll with the USBmap.kext. This kext we just made should be used by itself with no other USB kexts besides XhciUnsupported if your system needs it. Reason for this is USBInjectAll is no longer being maintained and the USBmap.kext version is how real Macs USB map as well so as close to "Apple Like" as possible to fit the OpenCore mood.
Now reboot and run USBmap again, you should see a lot less ports in your map: